
Copyright © All rights reserved. Made by Mad Dwarf Productions. Terms of use | Privacy policy
An explanation of some of the terms , and how to use them
Basic Techniques
Throughout these articles, we will use many shorthand terms and jargon. It will be assumed that you know a certain level of modelling, but for those who need a little more help, we shall explain some of them here.
Click on the Titles for more details:
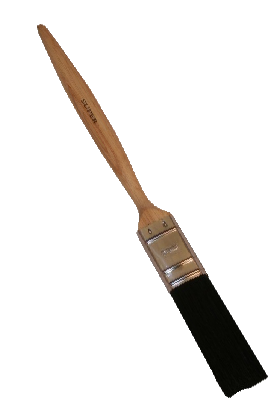
Brushes: A selection, from small ones for detail work, to large-area ones. PVA glue, and dry-brushing, can ruin a good brush, so it is best to have some older ones to hand.
Glue: PVA is best bought in 1 litre tubs. It can be thinned with water, and washes off hands and clothes easily.
Flock: Artificial grass, usually available as coloured sawdust, in a variety of colours.
Bitz Box: This is where all those extra little pieces go. Usually built up from unused extra options from model kits, an experienced modeller will have an extensive collection to choose from.
Paint: Scenery can use a lot of paint, so small model tins don’t go far. Tester pots from DIY stores can provide better value for money.
Spray Paint: For base-coating large areas, cans of spray paint are useful. Make sure to use in a well-ventilated area, where over-spray will not ruin anything!
Rough Coat: This is also known as Textured Spray Paint, and is used to give a stone effect to your models.
Things you will need:
Items:
Dry Brushing: This very useful technique involves taking some paint onto a brush, and then wiping most of the paint off, onto a cloth or tissue. Once there is very little paint left, it can be gently rubbed onto the highlighted portions of a model. It is usually done after a base-coat, using a lighter colour, to accentuate the raised areas, where light would naturally reflect more.
Washing: The opposite of Dry-Brushing, you take a brush of thinned-down paint and apply it to the recesses of a model, deepening the shadows. When combined with dry-brushing, this leads to pronounced contrasts, and a more natural look than plain colours.
Flocking: To coat an area with flock, apply a generous amount of PVA glue, and then sprinkle the flock on to it. Use more flock than is necessary. When the glue is dry, the excess flock may be tipped off onto a sheet of paper and returned to its storage tin for later use.
Carving Polystyrene: This is a messy business! Using a SHARP knife, carefully make long strokes through the polystyrene, being careful not to cut anything that should not be cut (other parts of the model, fingers, tables etc). Slice, rather than saw or hack, at the polystyrene. Remove excess sections frequently. It is better to remove too little, and then tidy up than to remove too much!
Paper Mache: Easily made from watered down PVA glue and ripped paper. Newspaper works well, as it is very absorbent. The paper can be shredded and scrunched in to the PVA, or kept in small, torn sheets and layered into place. It can take some time for this to dry, but once it does, it is usually very solid and resilient.
Spraying Base-coat: ALWAYS USE SPRAY-CANS IN A WELL-VENTILATED AREA. It is also best to use a spraying-box that protects from the inevitable spray that goes anywhere but on the model! Use a light touch, you can always put more spray on. It is difficult to take off! Over-spraying can obscure details on the model.
Using Roughcoat: A light spray of rough-coat onto a plain surface can add interesting texture. Always leave to dry thoroughly, and clear the nozzle after use by holding the can upside down and spraying until clear.
Step-By-Step Guide
