
Copyright © All rights reserved. Made by Mad Dwarf Productions. Terms of use | Privacy policy



Craters
Paper Mache is just paper and glue!
To build a crater, start with your Base, and scrunch up some newspaper to form a
rough ring, to be the rim of the crater. Glue this to the base. Now start layering
small strips of paper over it, using watered down PVA, allowing it to soak  liberally
into the paper.
As you progress, keep adjusting the shape, to form the smooth inner ‘bowl’, and rough outer area.
Once you have a few layers, allow to dry FULLY.
Now add some more layers of paper, shaping as you go, to form the crater. You don’t need much detail at this stage, apart from general shape.
It can be worthwhile having a reference picture to work from. It doesn’t have to be exact, just give an idea of how a crater tends to look.
As you build up the layers, it can be worth keeping the centre of the crater reasonably flat, so that your models can stand up in it, without falling or wobbling. Also, remember to cover the hole in the middle of the CD!
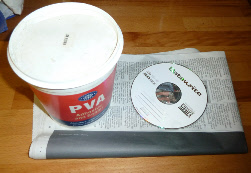

- An old newspaper.
- A base (Old CDs work well)
- Paints, brushes and flock.
- PVA glue.
- A model soldier, for scale
- A place to work, including somewhere to leave while paint/glue dries.
You Will Need:
Once the crater is made, extra detail can be added. Rocks can be made from rough sand, or lumps of dried paint (Thanks Dr H!). Rubble can be built from chunks of sprue or other bits of plastic, and as always, your bitz box can supply weapons, ammo, armour, crates and boxes etc.
Adding Detail
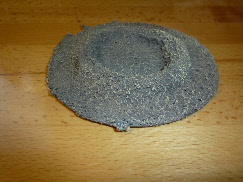 When the crater is built up with several layers, and allowed to fully dry, it should
be quite solid. All we need now is to coat it with texture, and paint appropriately.
The outer slope can be covered with ‘grass’ flock, or made to look more like broken
earth. The inner ‘well’ works well in browns and greys. I have used water-filter
spheres, painted in browns and dry-brushed, to give an earthen effect. Remember to
always allow each stage to fully dry before moving on the the next. Trying to paint
flock/texture while it is wet will result in it moving about, and leaving bare spots
(and also getting flock in your paint!)
PRO-TIP: If using a CD as a base, make sure to cover completely with paper mache, as PVA does not stick well to the CD surface, and you will have bare patches in your flock/coating.
